“Discover 10 easy nail art ideas for beginners! From classic French tips to water marble designs, these simple techniques will help you achieve stunning nail art at home.”
10 Easy Nail Art Ideas!
Are you eager to explore the world of nail art but not sure where to start? Nail art doesn’t have to be intimidating, even if you’re a complete beginner. With a bit of creativity and some simple techniques, you can achieve stunning nail designs that will leave your friends and family impressed. In this article, we’ll walk you through 10 easy nail art ideas that are perfect for beginners.
1. Classic French Tips
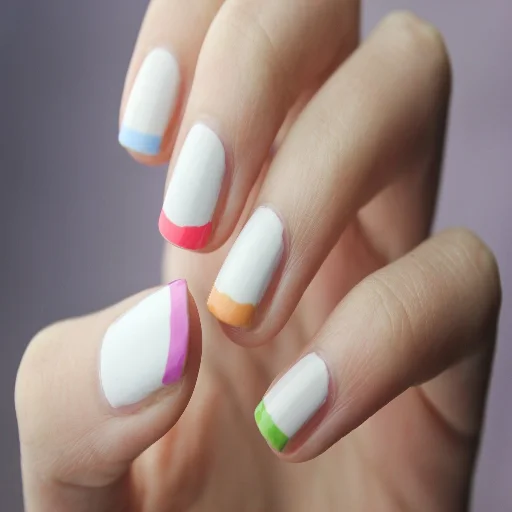
What You’ll Need: White nail polish, clear nail polish, nail tape or guide strips.
How to Do It: Apply the nail tape or guide strips at the tips of your nails and paint them with white nail polish. Let it dry, then peel off the tape to reveal perfect French tips.
2. Polka Dots
What You’ll Need: Two contrasting nail polish colors, a dotting tool or a toothpick.
How to Do It: Apply one color as the base coat. Once dry, use the dotting tool to create evenly spaced dots with the second color.
3. Glitter Accent Nail
What You’ll Need: Nail glitter, clear nail polish.
How to Do It: Paint all your nails with a base color, leaving one nail on each hand for the accent. Apply a clear top coat on the accent nails and sprinkle glitter while it’s still wet.
4. Striped Nails
What You’ll Need: Two nail polish colors, nail tape or thin striping brush.
How to Do It: Apply the first color as a base coat. Once dry, use nail tape or a striping brush to create straight lines with the second color.
5. Gradient Nails
What You’ll Need: Two to three nail polish colors, a makeup sponge.
How to Do It: Apply the lightest color as the base. Dab the sponge with the colors you want to blend and gently press it onto your nails for a beautiful gradient effect.
6. Floral Nails
What You’ll Need: Two or more nail polish colors, a dotting tool or a toothpick.
How to Do It: Create a base coat with one color. Use the dotting tool to make small dots in a circular pattern with different colors to create flowers.
7. Geometric Nails
What You’ll Need: Two contrasting nail polish colors, nail tape.
How to Do It: Apply the base color and let it dry. Apply nail tape in a geometric pattern and paint over it with the second color. Remove the tape once dry.
8. Heart Accent Nails
What You’ll Need: Two nail polish colors, a heart-shaped sticker or nail decal.
How to Do It: Apply one color as the base. Place the heart-shaped sticker or decal on the accent nails and paint over it with the second color. Remove the sticker to reveal a heart design.
9. Ombre Nails
What You’ll Need: Two nail polish colors in similar shades, a makeup sponge.
How to Do It: Apply the lighter color as the base. Dab the sponge with both colors and blend them on your nails for a smooth ombre effect.
10. Water Marble Nails
What You’ll Need: Two or more nail polish colors, a cup of room temperature water, toothpick.
How to Do It: Drop nail polish into the water one color at a time. Use a toothpick to create a design by swirling the colors. Dip your nail into the design and clean up any excess polish.
Remember, practice makes perfect. Don’t be discouraged if your first attempts aren’t flawless. With time and patience, your nail art skills will improve, and you’ll be creating intricate designs in no time.
Related Articles:
- DIY Geometric Nail Art: A Modern Look.
- Nail Art Basics: Getting Started with Nail Designs.
- Nail Art Trends: What’s Hot Right Now.
- Step-by-Step Guide to French Manicure Nail Art.
Frequently Asked Questions!
Disclaimer:
The information provided in this article is for educational and informational purposes only. Nail art involves the use of nail products and tools. Use caution and consult a qualified nail technician for personalized guidance if needed. The website owner and author disclaim any liability or responsibility for any errors or omissions in the content or for any actions taken by individuals based on the information provided in this article.