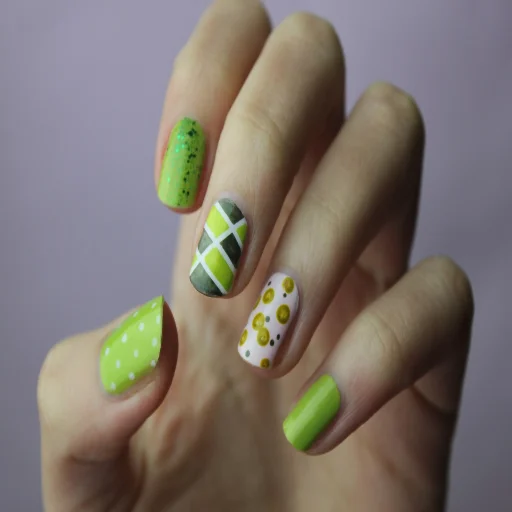
“Learn how to create a stunning French manicure nail art at home with our step-by-step guide. Achieve a classic and elegant look with ease.”
French Manicure Nail Art!
A French manicure is a classic and timeless nail art style that exudes elegance and sophistication. Whether you’re heading to a special event or just want a polished look for everyday life, mastering the French manicure is a valuable skill. In this step-by-step guide, we’ll walk you through creating the perfect French manicure at home.
Materials You’ll Need:
- Nude or pale pink nail polish (base color)
- White nail polish (tip color)
- Nail tip guides or tape
- Clear topcoat
- Nail polish remover
- Cotton swabs or precision brush
- Nail file
- Buffer block
- Cuticle oil

Step 1: Prepare Your Nails
Start by removing any existing nail polish and shaping your nails. Use a nail file to achieve your desired nail shape, whether it’s square, oval, or almond. Gently buff the surface of your nails to create a smooth canvas for the polish.
Step 2: Apply the Base Coat
Apply a clear base coat or a pale pink/nude nail polish to all your nails. This serves as the base color for your French manicure. Allow it to dry completely.
Step 3: Position the Nail Tip Guides
Take your nail tip guides or nail tape and carefully position them where you want the white tips to start. For a classic French manicure, place the guides in a curved line just below the tips of your nails. Ensure they are securely attached to prevent any polish from seeping underneath.
Step 4: Paint the White Tips
With the guides in place, it’s time to paint the white tips. Using your white nail polish, carefully paint over the exposed nail tips. Be precise and take your time to create even, thin lines. Allow the white polish to dry before gently removing the guides.
Step 5: Clean Up Any Mistakes
If you’ve made any mistakes or if the white tips aren’t perfectly even, dip a precision brush or a cotton swab in nail polish remover and carefully clean up the edges. This will give your French manicure a polished look.
Step 6: Seal with Topcoat
Once you’re satisfied with the white tips, apply a clear topcoat over all your nails. This not only adds shine but also seals and protects your nail art.
Step 7: Nourish Your Cuticles
Finish your French manicure by applying cuticle oil to moisturize and care for your cuticles. Massage it in gently to keep your nails and surrounding skin looking healthy.
Related Articles:
- 10 Easy Nail Art Ideas for Beginner.
- DIY Geometric Nail Art: A Modern Look.
- Nail Art Basics: Getting Started with Nail Designs.
- Nail Art Trends: What’s Hot Right Now.
Frequently Asked Questions!
Disclaimer:
The information provided in this article is for educational and informational purposes only. Nail art involves the use of nail products and tools. Use caution and consult a qualified nail technician for personalized guidance if needed. The website owner and author disclaim any liability or responsibility for any errors or omissions in the content or for any actions taken by individuals based on the information provided in this article.