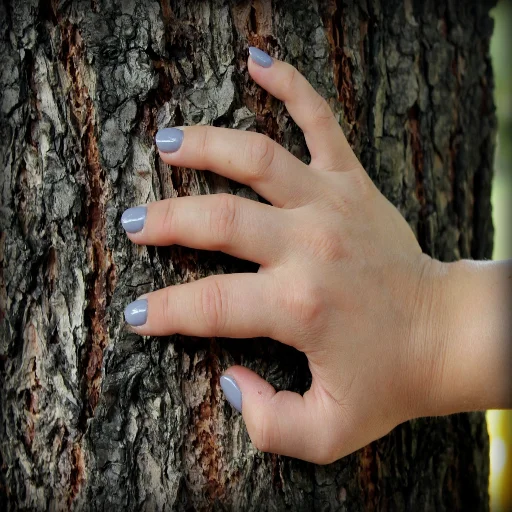
“Discover the fascinating world of nail art! This beginner’s guide covers nail preparation, essential tools, basic techniques, and tips for success. Unleash your creativity and express your style through stunning nail designs.”
Nail Art Basics!
Are you ready to dive into the fascinating world of nail art? Whether you’re an absolute beginner or looking to refine your skills, this comprehensive guide will take you through the essentials of nail art, offering tips, tricks, and inspiration to help you create stunning nail designs.
Understanding Nail Art

Nail art is the creative process of decorating and enhancing your nails using various techniques, colors, and tools. It’s a form of self-expression and a fantastic way to showcase your personality and style. Before we get into the details, here are the basics:
1. Nail Preparation: The Foundation of Great Nail Art
- Start with clean, dry nails: Remove any old nail polish and shape your nails to your desired length and style.
- Use a base coat: Applying a base coat not only protects your nails but also provides a smooth surface for your nail polish to adhere to.
2. Nail Polish Selection: The Colors of Your Canvas
- Choose your colors: Select your favorite nail polish colors for your base and design. Nail art is all about creativity, so don’t be afraid to mix and match shades.
- Experiment with textures: Beyond regular nail polish, you can explore different textures like matte, glitter, or metallic finishes for added dimension.
3. Nail Art Tools: Your Creative Arsenal
Investing in a few essential nail art tools can make a world of difference:
- Detail brushes: Fine-tipped brushes are ideal for creating intricate designs.
- Dotting tools: These are perfect for adding dots, circles, and precise details.
- Nail tape: Nail tape helps create clean lines and geometric patterns.
- Stencils and stickers: These can simplify complex designs.
Basic Nail Art Techniques
Now that you’re prepared let’s explore some beginner-friendly nail art techniques:
- Polka Dots: Use a dotting tool to create playful polka dot patterns.
- Stripes: Nail tape or striping brushes can help you achieve clean and straight lines.
- French Tips: Achieve a classic French tip look with contrasting colors.
- Gradient Nails: Blend two or more colors together for a beautiful ombre effect.
- Stickers and Decals: Nail stickers and decals are a quick way to add intricate designs without the need for freehand skills.
Taking Nail Art to the Next Level
Once you’ve mastered the basics, you can explore more advanced techniques:
- Freehand Designs: Unleash your creativity by painting freehand designs like flowers, hearts, or abstract art.
- Stamping: Nail stamping kits allow you to transfer intricate designs onto your nails with ease.
- Water Marbling: Create mesmerizing water marble patterns by floating nail polish on water and dipping your nails into the design.
- 3D Nail Art: Experiment with 3D elements like rhinestones, studs, or tiny charms for a textured and dynamic look.
Tips for Nail Art Success
Practice regularly: Nail art is a skill that improves with practice. Don’t be discouraged by initial mistakes; they’re part of the learning process.
- Patience is key: Allow each layer of polish to dry completely before adding the next to prevent smudging.
- Seal the deal: Finish your nail art with a clear top coat to protect the design and make it last longer.
- Get inspired: Follow nail artists on social media, watch tutorials, and browse Pinterest for endless nail art inspiration.
Remember, nail art is a fantastic way to express your individuality and have fun with your style. So, grab your nail polish and brushes, and let your creativity shine through your nails. Happy nail art adventures!
Related Articles:
- 10 Easy Nail Art Ideas for Beginner.
- DIY Geometric Nail Art: A Modern Look.
- Nail Art Trends: What’s Hot Right Now.
- Step-by-Step Guide to French Manicure Nail Art.
Frequently Asked Questions!
Disclaimer:
The information provided in this article is for educational and informational purposes only. Nail art involves the use of nail products and tools. Use caution and consult a qualified nail technician for personalized guidance if needed. The website owner and author disclaim any liability or responsibility for any errors or omissions in the content or for any actions taken by individuals based on the information provided in this article.